Description
- Small size and Lightweight module.
- Easy to use.
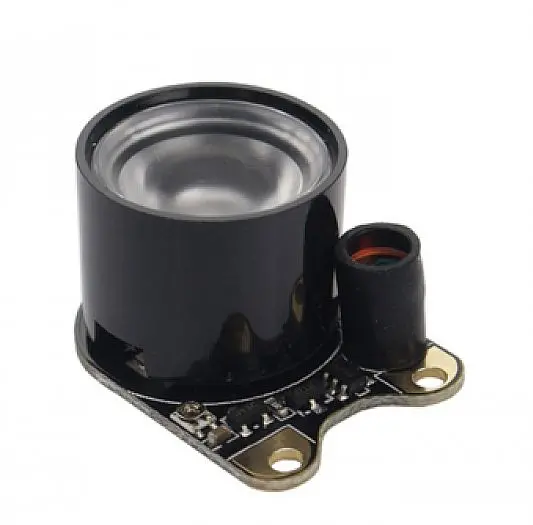
- Equips onboard photoresistor and adjustable resistor
- Allows adding night vision function to RPi Camera (E) or RPi Camera (F).
How to Use :
1. Connect the Infrared LED Board to the camera PCB by screws.
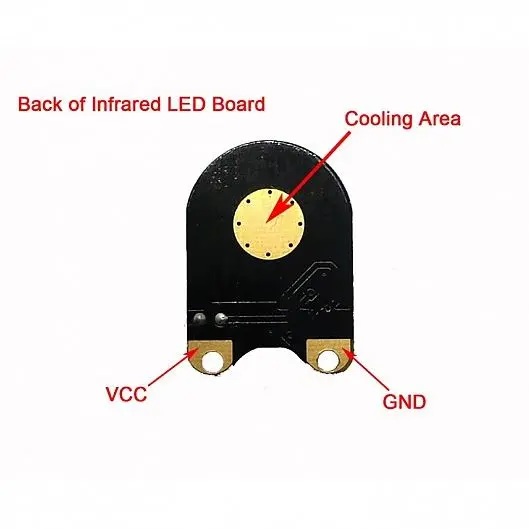
2. The screw holes are used for both attachment and power supply.
3. Adjust the adjustable resistor to set a proper ambient light threshold, which toggles the infrared LED automatically.
4. When ambient light is lower than the threshold value, the infrared LED is on, vice versa.
Note :
1st – The 3W high-power infrared LED might cause the Pi to increase heating, heat sinks are suggested.
2nd – Ideal imaging distance is within 3m. When the distance goes up to 6m, the night vision camera can just capture blurry outlines.
Features :
- Small size and Lightweight module.
- Easy to use.
- Equips onboard photoresistor and adjustable resistor
- Allows adding night vision function to RPi Camera (E) or RPi Camera (F).
Explore more from our collection.
Reviews
There are no reviews yet.